Drag Shelf: How to Collect Files and Drop Them Anywhere on Mac
Shake the pointer while dragging and a shelf appears. Here's how Historr's Drag Shelf works, from collecting files, images, links and text to dropping them all in one move.

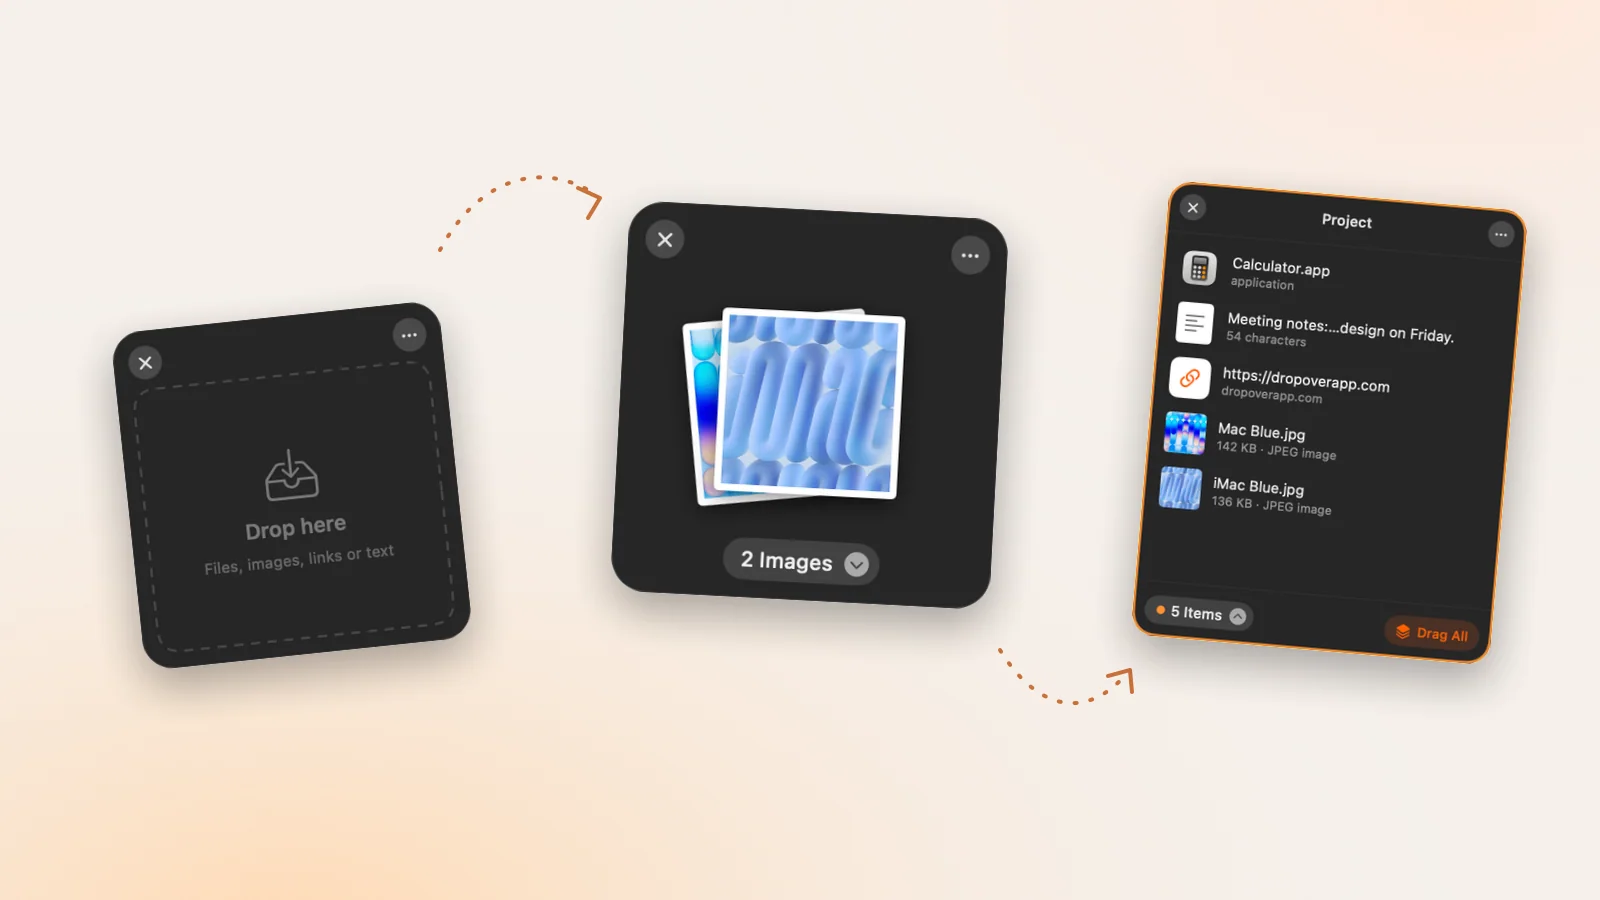
The short answerStart dragging anything, shake the pointer, and a Drag Shelf appears under it. Drop items on the shelf, collect more from anywhere, then drag the whole pile into any app or folder in one move. Everything arrives as a copy, so your originals stay where they were.
The overview
Drag and drop works when the source and the destination are both on screen. Real work rarely looks like that: the files you need are spread across Downloads, a project folder and a browser, and the place they're going is buried under other windows or on another Space.
The usual workarounds each cost something. Dragging to the Desktop leaves a mess to clean up later. Arranging two Finder windows side by side takes time and breaks down when there are three sources. Copying and pasting files works, but only one batch at a time, and it replaces whatever was on your clipboard.
Why it happens
A drag only lasts as long as you hold the mouse button. The moment you let go, the item has to land somewhere, so you can't carry a drag while you switch apps, open a folder or look for the right window.
macOS has no built-in staging area between the source and the destination. A shelf fills that gap: a small, temporary place that holds items while you finish gathering them, then hands them all over in one drop.
Your step-by-step guide
Start a drag and shake the pointer
Begin dragging files in Finder, a photo from Photos, an image from a web page, a link or some selected text. While you're still holding the mouse button, move the pointer quickly left and right a few times. A shelf fades in under the pointer, ready for the drop.
Drop, then collect more
Let go and the items land on the shelf as a fanned pile with a count below it, like 2 Images or 5 Items. Now go and find the rest: another folder, an email attachment, a screenshot. Drag each one onto the same shelf. Duplicates are ignored, so dropping the same file twice won't double it.
Check what you've gathered
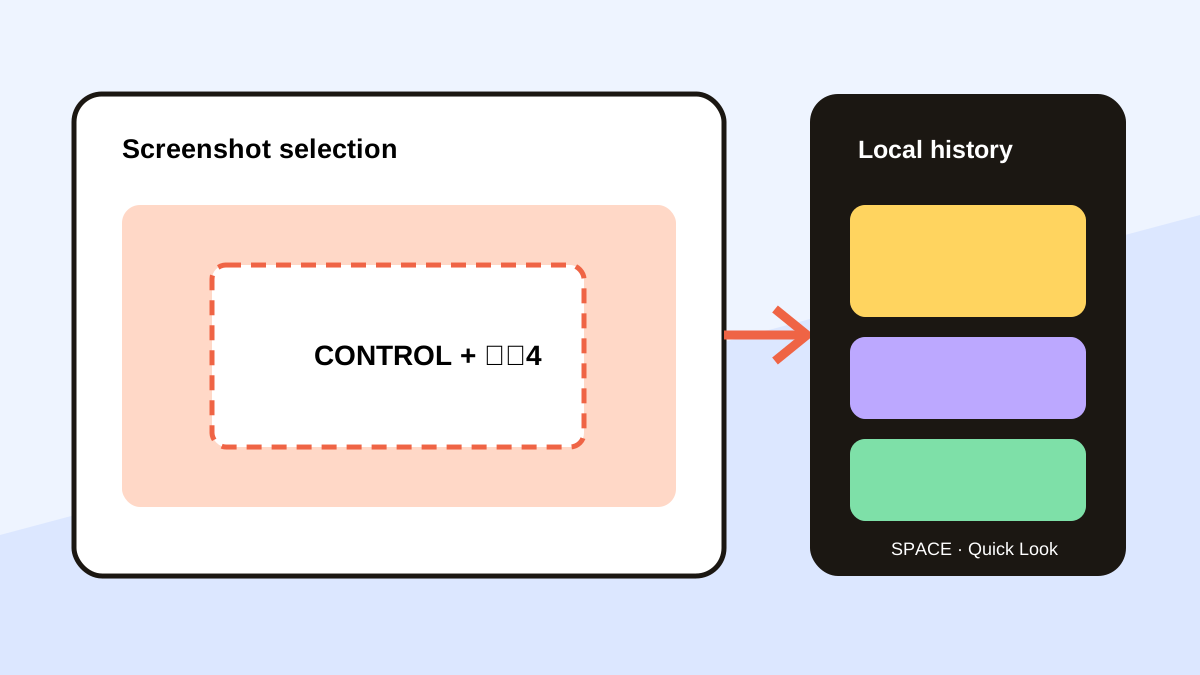
Click the pile or its count to open the item list. You'll see each file with its size and type, text snippets and links with a preview, and images as thumbnails. Hover to remove anything you don't need, double-click to open an item, or press Space for Quick Look.
Drag the whole pile out
Go to the destination: a Finder folder, a Mail message, a Messages chat, a Slack channel, or an upload area in the browser. Grab the pile (or Drag All in the list view) and drop. Every item arrives as a copy, so the originals stay where they were. By default the shelf then closes itself; you can reopen it from Recent Shelves.
Use shelf actions when dropping isn't the goal
The … menu turns the shelf into a small workbench. Share or AirDrop everything, save copies to a folder, compress the items to a ZIP that appears on the shelf, make resized copies of large photos, or extract the text from screenshots straight to your clipboard.
Open a shelf without dragging
Press Option-Shift-D to open an empty shelf at the pointer, or drop items onto the Historr icon in the menu bar. Shelves can be renamed and color-labelled, and you can keep several open at once, one per task.
Common mistakes to avoid
- Shaking before the drag has started. The shelf only appears while you're actually carrying something, so press, start moving, then shake.
- Expecting shelf items to be moved. Dragging out of the shelf always copies, which is safer; delete the originals yourself if you really meant to move them.
- Forgetting the permission. The shake gesture uses the same Accessibility access Historr needs for pasting. If shaking does nothing, check System Settings.
- Treating a shelf as long-term storage. Shelves are temporary and cleared when you quit Historr. Put anything you need to keep into a real folder.
Small changes. A faster workflow.
- Give each project its own shelf and a color label, so you can tell them apart at a glance.
- If shelves pop up when you don't want them, set shake sensitivity to Low. If shaking feels like hard work, set it to High.
- Gather screenshots on a shelf, then use Extract Text to pull out every error message or quote at once.
- Before emailing a batch of photos, use Resize Images → Max 2048 px. The copies are much smaller and your originals are untouched.
- Dropped something by mistake? Close the shelf and reopen it from Recent Shelves in the menu bar. Up to ten recent shelves are kept until you quit.
Compare your options
| Option | Best for | Limits |
|---|---|---|
| Drop on the Desktop | A quick one-off drop with nothing else installed | Clutters the Desktop and leaves files to tidy up later |
| Two Finder windows side by side | Moving files between exactly two folders | Takes setup, and doesn't help with apps or several sources |
| Copy and paste in Finder | One batch of files from a single folder | One batch at a time, and it replaces your clipboard |
| A dedicated shelf app | People who want an advanced standalone shelf tool | Another app to install, and some are paid |
| Historr Drag Shelf | Collecting from several places, then one drop anywhere | Shelves are temporary and cleared when Historr quits |
Put it into practice with Historr
Drag Shelf ships in Historr 0.1.5 alongside automatic updates. It lives in the same menu-bar app as your clipboard history, so there's nothing extra to install or configure; shaking works as soon as Historr has Accessibility permission.
Shelves accept files, folders, images (including photos from Photos and images dragged from a browser), links and text. Items you drop from disk stay where they are; everything else is kept in temporary files that Historr removes when you clear the shelf or quit.
Everything happens on your Mac. Shelves never leave your machine, Extract Text runs on-device, and the shake gesture only watches mouse movement while you drag. It never reads what you type.
- Instant search
- Unlimited history
- Favorites
- Keyboard shortcuts
- Privacy
- Offline storage
- Quick preview
- Paste Stack

Keep your next good idea.
Free, private clipboard history for your Mac.
Questions, answered.
How do I open Drag Shelf?
Shake the pointer while dragging something, press Option-Shift-D, or drop items on the Historr menu-bar icon.
Does dragging out of the shelf move my files?
No, it copies them. The originals stay in their original location.
Can I put photos from the Photos app on a shelf?
Yes. Drag them from Photos onto the shelf; Historr receives the photo files, and you can drag them anywhere from there.
How many shelves can I have?
As many as you like at the same time. Up to ten closed shelves are kept under Recent Shelves until you quit Historr.
Why doesn't shaking open a shelf?
Make sure Historr is enabled in System Settings, Privacy & Security, Accessibility, and that Shake while dragging is on in Historr Preferences. Remember to shake while the drag is in progress.
Does Drag Shelf cost extra?
No. It's part of Historr, which is free.
Take it from here
Drag Shelf removes the awkward middle part of drag and drop: the part where you're holding something with nowhere to put it. Shake, drop, gather, and deliver everything in one move. If you already use Historr, update to 0.1.5 and try it the next time you're moving files between apps.
If you're looking for a faster way to search, organize, and reuse everything you copy, try Historr and see how much time you can save.