Clipboard Manager for Mac: A First-Day Setup Guide
Set up a clipboard manager for Mac the right way: permissions, privacy, history size, favorites and the three shortcuts worth learning on day one.

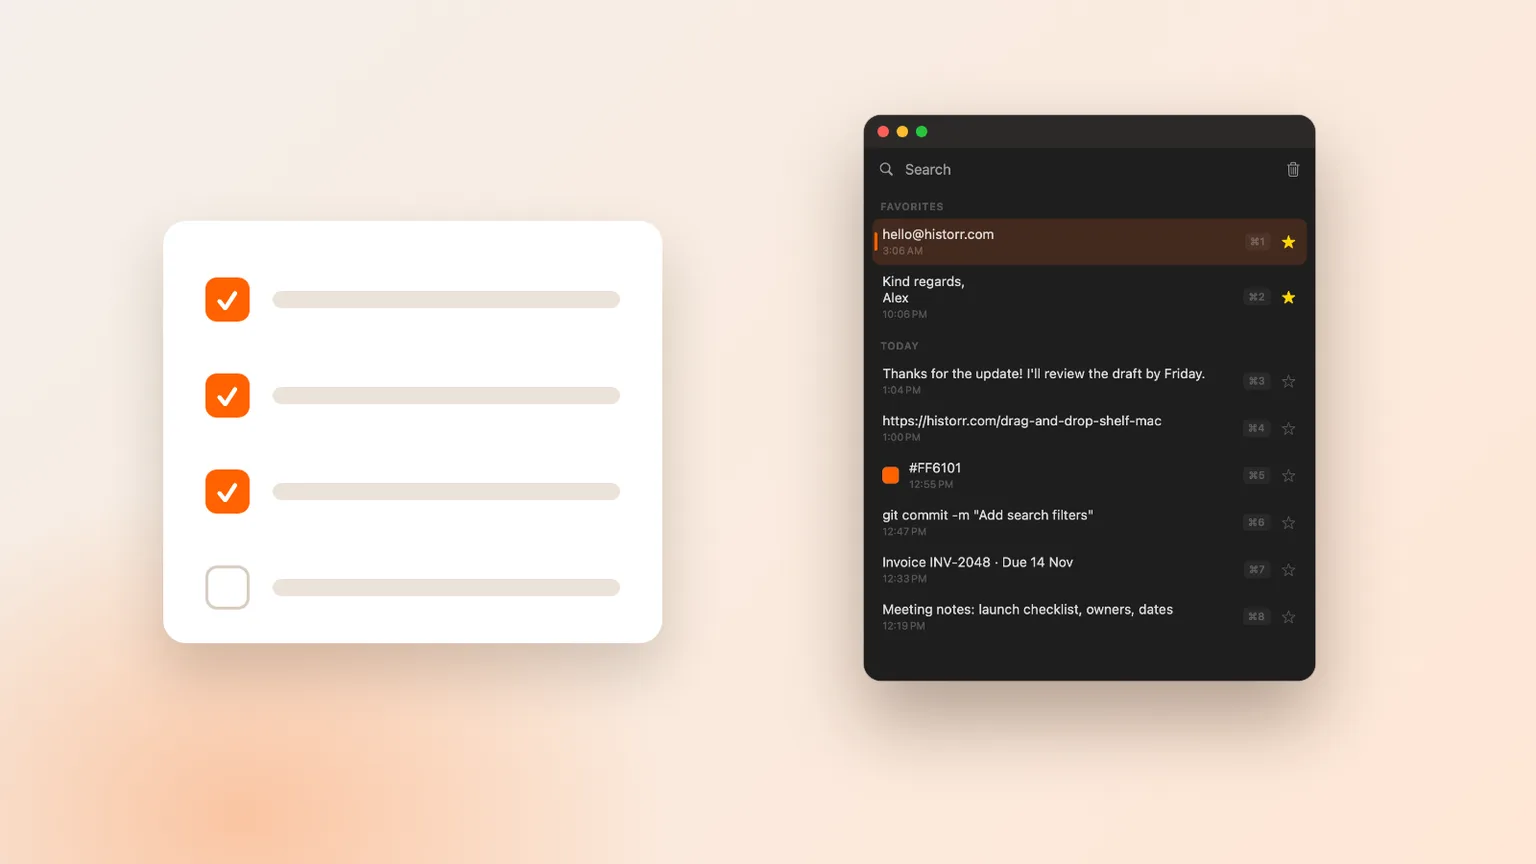
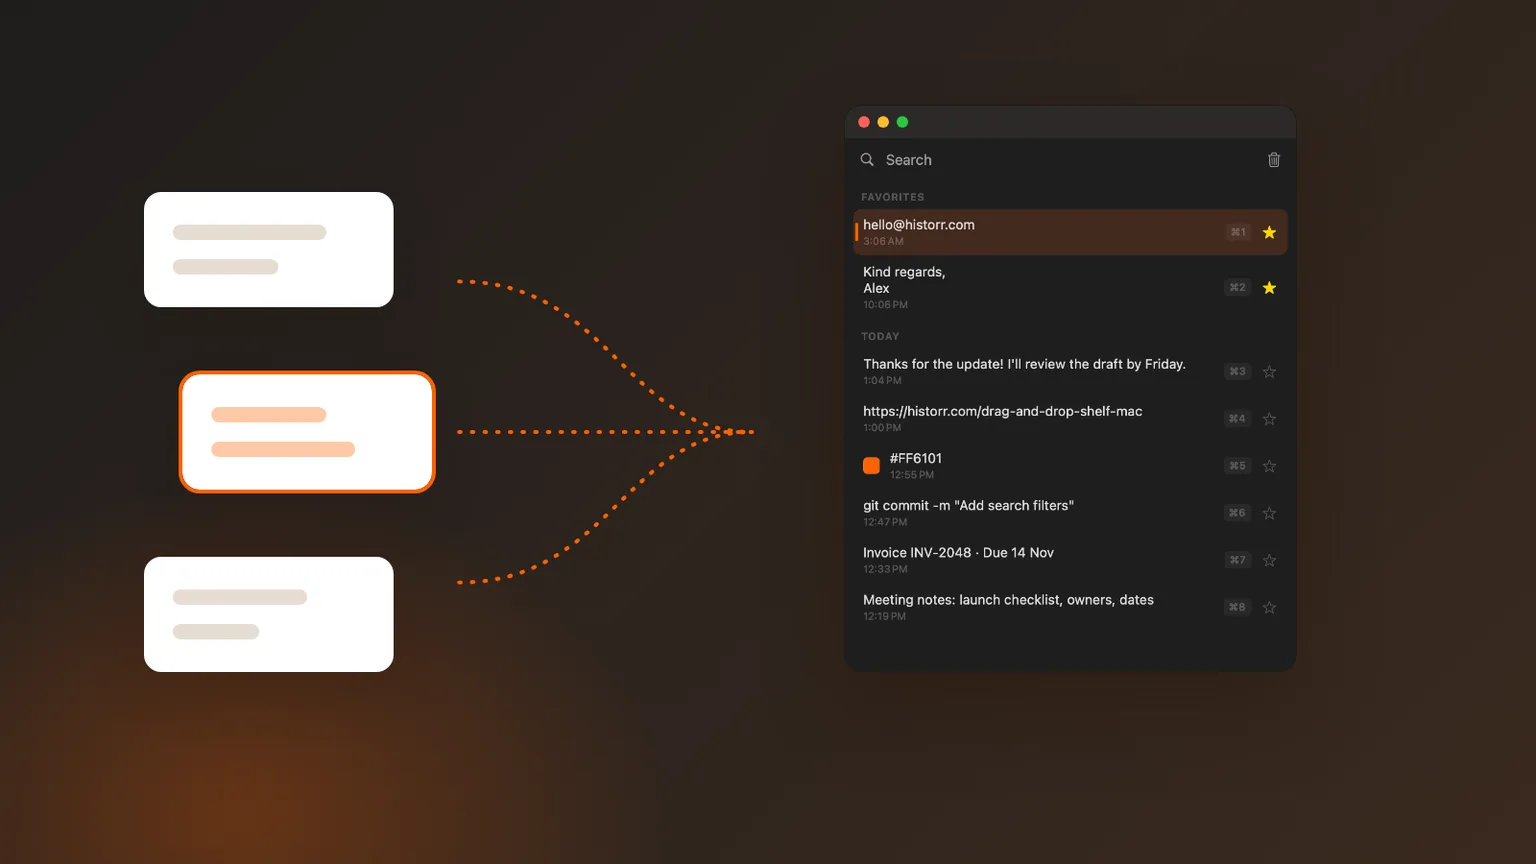
Original cover made from Historr screenshots with sample data.
The short answerTo set up a clipboard manager for Mac, grant Accessibility so it can paste, turn on launch at login, decide how many items to keep, switch on auto-expiry for sensitive copies, and learn one shortcut to open history. In Historr that takes about five minutes: Option-H opens history, Return pastes, and Option-Command-V pastes the next item in your Paste Stack.
Why setup matters
Out of the box, a clipboard manager records everything. That is the point, but it also means the first day is when you decide how private it should be, how much it remembers, and how you will open it without thinking.
Get those choices right early and the app quietly becomes part of how you work. Skip them and you end up with an app you do not trust or cannot find.
It also helps to know what not to change. Defaults like grouping items by Today, Yesterday and Earlier, and keeping favorites at the top, are designed to work without tweaking. Spend your five minutes on permissions and privacy instead.
What each permission does
macOS protects apps from controlling each other. To paste into another app for you, a clipboard manager needs Accessibility permission, which you grant in System Settings, Privacy and Security, Accessibility. Recording history does not need it.
Clipboard managers also see whatever you copy, including passwords and codes. Good ones skip items password managers mark as concealed and can remove sensitive-looking copies automatically.
Launch at login matters more than it seems. A clipboard manager only records while it is running, so if it is not open after a restart, the history has a gap exactly when you might need it.
Your five-minute setup
Grant Accessibility
When Historr asks, open System Settings and switch it on. Settings, General shows whether access is enabled.
Launch at login
Turn this on in Settings, General so your history is always being kept.
Choose your history size
100 items suits most people. Raise it in Settings if you often search further back; favorites are always kept.
Set sensitive-copy expiry
Keep auto-expire on and choose how quickly card numbers, one-time codes and tokens are removed, from 1 to 10 minutes.
Learn three shortcuts
Option-H opens history, Return pastes the selection, and Option-Command-V pastes the next item in the Paste Stack.
Common mistakes to avoid
- Denying Accessibility, then wondering why clicking an item does not paste.
- Turning off sensitive-copy expiry to keep history complete.
- Never favoriting anything, so reusable snippets scroll away.
Small changes. A faster workflow.
- Use Pause Recording from the menu bar before copying anything private.
- Favorite your address, email sign-off and other weekly snippets.
- Right-click an item to paste it as plain text or add it to the Paste Stack.
Compare your options
| Option | Best for | Limits |
|---|---|---|
| Accessibility on | One-key paste into any app | Needs a one-time grant |
| Accessibility off | History only | You paste with Command-V yourself |
| Auto-expire on | Keeping secrets out of history | Removes some items on purpose |
Accessibility on
Best forOne-key paste into any app
LimitsNeeds a one-time grant
Accessibility off
Best forHistory only
LimitsYou paste with Command-V yourself
Auto-expire on
Best forKeeping secrets out of history
LimitsRemoves some items on purpose
Setting up Historr
Historr's Settings window has a tab for each area: Clipboard History, Drag Shelf and General. The General tab shows whether Accessibility is on, and the menu only reminds you while it is missing.
Historr is free, keeps history on your Mac, and since version 0.1.5 updates itself, so you set it up once and new versions arrive with a click.
Once set up, try a real task: copy three values from an email, open history with Option-H, and paste each one into a form. That single exercise is usually enough to make the shortcut stick.
- Instant search
- Unlimited history
- Favorites
- Keyboard shortcuts
- Privacy
- Offline storage
- Quick preview
- Paste Stack

Keep your next good idea.
Free, private clipboard history for your Mac.
Questions, answered.
Does a clipboard manager for Mac need Accessibility permission?
Only to paste into other apps for you. History is recorded without it.
How many clipboard items should I keep?
Start with about 100. Keep more only if you often search for things copied days ago.
Will my passwords end up in clipboard history?
Historr skips copies that password managers mark as concealed, and removes detected card numbers, codes and tokens after a few minutes.
How do I open clipboard history quickly?
In Historr, press Option-H from any app, type to search, and press Return to paste.
Can I clear clipboard history?
Yes. Use Clear History from the menu or the trash button in the history window. Favorites are kept, and Command-Z undoes a removal.
You are ready
Five minutes of setup turns a clipboard manager from an experiment into a habit. Grant access, set privacy, learn the shortcut, and let it work.
If you're looking for a faster way to search, organize, and reuse everything you copy, try Historr and see how much time you can save.
Continue with these guides
- Historr documentation
Every setting explained.
- Paste Stack guide
Paste several items in order with one shortcut.